
Last Updated on May 23, 2023 by faisal1993roshan@gmail.com
Are you dealing with constant back, hip, or knee pain while using your toilet? Installing a toilet seat riser is an easy way to reduce strain when going through your daily bathroom routines.
You don’t need to struggle anymore; this guide will walk you through the process of how to install a toilet seat riser with ease.
Installing a toilet seat riser can help make your bathroom more accessible to those with limited mobility. With the addition of a toilet seat riser, individuals with disabilities can more easily get on and off the toilet. It is important to talk to an experienced healthcare provider before deciding if a toilet seat riser is right for you or someone you care for. This guide provides a step-by-step overview of how to install a toilet seat riser.
Before beginning, consult your healthcare provider and read all instructions that come with the product thoroughly. If there are any parts missing or damaged, do not attempt installation and contact the manufacturer immediately. It is also important to note that this guide should not replace professional installation advice or service offered by qualified individuals, such as those provided by medical equipment stores or plumbers.
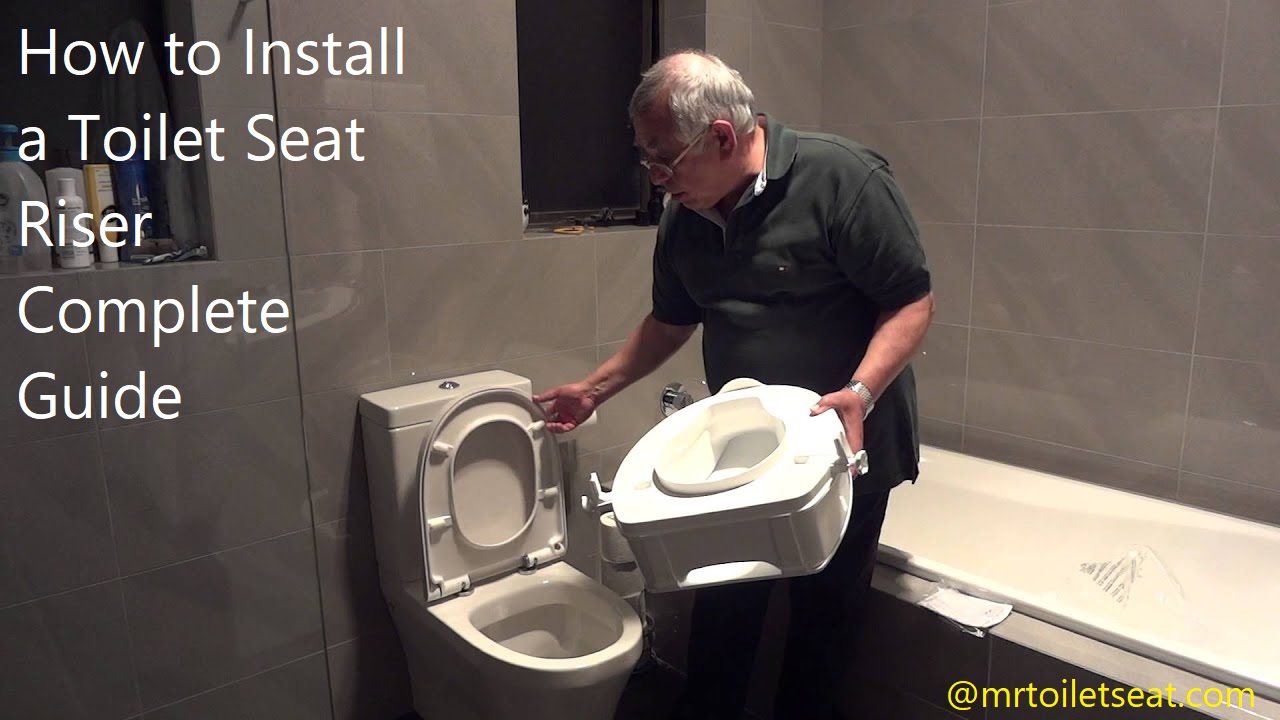
Explanation of what a toilet seat riser is and its benefits
A toilet seat riser is a device designed to make it easier for those who have trouble sitting on and getting off a standard-height toilet. It adds height to the toilet seat, bringing it closer to the person’s body without having to move furniture or make permanent modifications to bathroom fixtures. Toilet seat risers can help ensure that those with mobility issues, pregnant women, and the elderly have a safe and comfortable bathroom experience.
Toilet seat risers are typically made of durable plastic or composite materials that are easy to install while still providing stability and support. They come in several heights depending on the user’s needs and should have an anti-slip surface for extra safety. Some models also feature additional features like handles for added stability. The installation process varies by manufacturer, but installing one is typically straightforward enough where you only need basic tools such as a screwdriver or drill bit.
If you’re looking for an affordable and easy solution for adding comfort and convenience to your bathroom experience, then consider investing in a toilet seat riser!

Importance of installing a toilet seat riser
Installing a toilet seat riser can greatly improve your personal hygiene and bathroom experience. By adding additional height to the toilet bowl, it reduces the distance you have to bend down in order to use the toilet. This helps reduce stress on your knees and legs, making the process easier and more comfortable.
Additionally, it allows for easier access for those with restricted mobility, making them less dependent on others for assistance. Installing a toilet seat riser also does not require any plumbing work – it easily attaches using adhesive or hardware/bolts – allowing installations in places where possible remodeling of plumbing would be difficult or costly.
Generally, these models are covered in a highly durable plastic, so they are easy to clean and don’t require much maintenance. A properly installed toilet seat riser will last for many years with minimal upkeep needed.
Materials and Tools Required
Installing a toilet seat riser does not require the assistance of a professional plumber. The necessary materials and tools vary, depending on the type of installation. However, you will generally need the following items:
Materials: -Toilet seat riser -Washers (if needed) -Bolts/screws and nuts (if needed) -Plumber’s putty (if needed)
Tools: -Screwdriver or drill -Electric screwdriver bits (if needed) -Adjustable wrench or pliers -A level or measuring tape
Additionally, if you’re installing a lifter with legs rather than a clamping type, you may need to purchase some pieces of wood to act as shims when setting up the legs. Also, make sure you have some wet wipes or a cloth handy to mop up any mess that occurs during installation.
List of the necessary materials and tools required for installation
Before taking on the project of installing a toilet seat riser, it is important to make sure you have the necessary materials and tools needed for a successful installation. Here’s a list of what you will need:
- Toilet seat riser
- Adjustable wrench or socket wrench set
- Screwdriver (if included in product kit)
- Small pliers (if needed)
- Rag
- Carpet or tile guard film (to protect flooring)
In addition to these materials, you may also want to consider purchasing items such as protective gloves, toilet seat washers or screws if they are not included in your product kit. It is important to be aware that some makes and models may require special tools for installation. Make sure you read your product instructions carefully before starting work.
Preparing for Installation
Before you begin installing a toilet seat riser, there are certain steps you should take to ensure that your installation process is successful.
First, make sure you have all of the necessary tools and supplies on hand, as well as the necessary toilet seat risers for your type of toilet.
Second, consider any necessary modifications to the existing toilet, such as removing an existing seat and replacing it with the new one.
Third, it’s important to make sure that the replacement part is compatible with your specific type of toilet; many companies will list compatibility information on their websites and in product instructions.
Fourth, be sure that there is adequate clearance around the bowl so you can comfortably attach the seat riser.
Finally, if desired you can purchase special adapters or anchors to attach hardware in contact with porcelain surfaces; this will help ensure a secure fit and also prevent any scratching or damage to your surface.
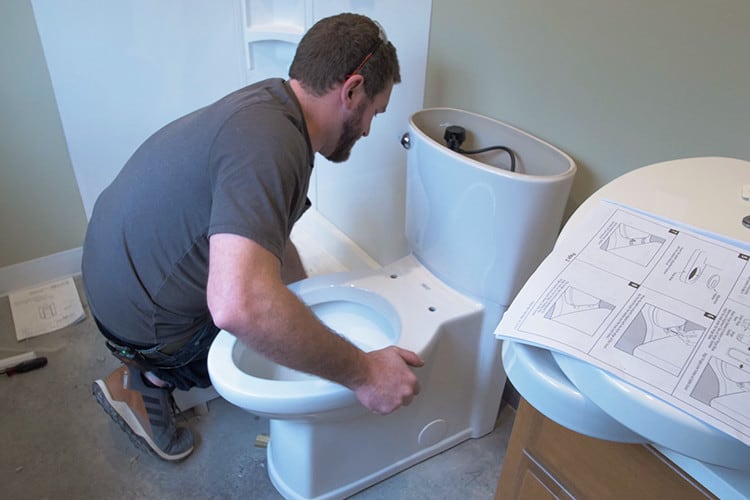
Steps to take before installation, including cleaning the toilet and checking for compatibility
Before installing a toilet seat riser, it is important to take some necessary steps in order to ensure a successful installation. First and foremost, ensure that the toilet seat riser you have chosen is actually compatible with your toilet. This is especially important since there are multiple sizes available on the market.
Once you have confirmed compatibility, it is then important to give your toilet an appropriate cleaning. This includes cleaning off any existing grime, dirt, or residue that might prevent the riser from attaching properly to the bowl itself.
After completing these two necessary steps, it is then time for installation of the actual product!
Installing the Toilet Seat Riser
Before you begin, it’s important to make sure you are wearing safety glasses and gloves as you complete the steps below:
- Remove existing toilet seat – Start by lifting off the toilet seat, then carefully lifting it away from the bowl. If there’s a bolt in the back of the seat, unscrew it and remove it completely.
- Place new riser onto toilet – Once you have removed the old seat, place your new riser on the bowl of the toilet. This step should go quickly and easily; be sure to press down gently to ensure a secure fit.
- Secure adhesive strips – Before securing your new riser in place, apply adhesive strips to both sides of your risers’ bottom rim and secure them onto your existing raised lid with screws if available.
- Tighten down all hardware – Once all hardware has been secured with adhesive strips or screws, tighten everything down using an adjustable wrench until it is securely in place
- Install bolts through riser – Next, install bolts through your riser holes which will now line up with pre-drilled holes located on either side of your toilet bowl
- Place locking washer onto bolts – Add a locking washer onto each bolt followed by securing it into place using a nut driver or standard screwdriver depending on what type of nut driver is used for installation
- Test out stability – After adding nuts and washers to each side of the lids’ hinges, make sure that everything is secure before use by pushing gently on each side for added stability
8 Test for tightness again- Finally double check that everything has been tightened properly when done so give everything a final test for tightness before officially completing installation
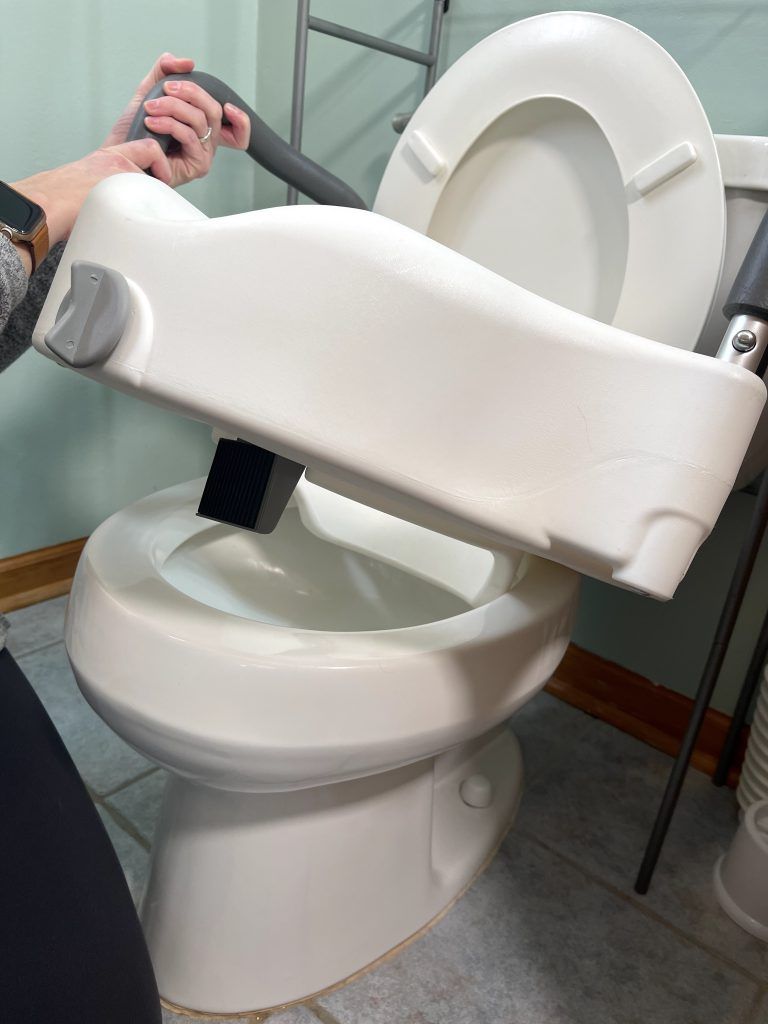
Step-by-step instructions on how to install the toilet seat riser, including how to properly attach it to the toilet
Toilet seat risers provide an elevated surface that allows those who have difficulty sitting down or getting up to use the toilet more safely and comfortably. When installing a riser, it is important to make sure that it is securely and safely mounted to your toilet bowl. This guide will provide step-by-step instructions on how to install the toilet seat riser, including how to properly attach it to the toilet.
Before beginning, make sure your hands are clean and you have all the materials needed such as a screwdriver, screws, washers and a riser base (may or may not be included with your purchase).
- Place the riser on the edge of your toilet bowl with the extended portion facing up at a 45 degree angle before you fasten it in position. The underside of the raised surface will rest directly on top of your toilet seat.
- Insert screws through each corner of where you placed the riser near your toilet bowl and then add one right in the center too., Make sure you add washers in between each screw so they stay secure in place
- Tighten all screws until they fit snugly against their respective corners of the board. Again, you’ll want to use washers here as well
- Place your legs onto each corner post before mounting them onto their respective sides of both edges
- Once everything is assembled firmly into place and all screws are tightened securely ,you can now add plastic caps over each screw head for neatness
6 Test out lifting yourself off from sitting position onto raised portion for safety purposes
Conclusion
In conclusion, installing a toilet seat riser can be tricky. The good news is that once you have the right tools, hardware, and instructions—the installation should be fairly straightforward.
After you’ve installed the riser, make sure to test it out with a plunger or with some water filled into the bowl before completely closing up the toilet. You should also check for any tell-tale signs of leakage around the base or near any connections points. When in doubt, consult a professional before taking on this job!
FAQ’s
How does a raised toilet seat fit on a toilet?
A raised toilet seat fits on a toilet by being placed on top of the existing toilet seat and secured with brackets or clamps.
How do you keep a raised toilet seat from moving?
A raised toilet seat can be kept from moving by attaching it securely to the toilet with adjustable brackets or bolts.
Do toilet seat risers fit all toilets?
No, toilet seat risers may not fit all toilets as they come in different sizes and shapes. It’s important to check the compatibility of the riser with the toilet before purchasing.
How do you fix a toilet riser?
The way to fix a toilet riser depends on the problem. Generally, you can fix a loose or wobbly riser by tightening the bolts or clamps that secure it to the toilet.
How do you install a hinged toilet seat riser?
To install a hinged toilet seat riser, first remove the existing seat and attach the hinged riser to the toilet with the provided hardware. Then, attach the toilet seat to the riser.
How do toilet seat risers work?
Toilet seat risers work by adding height to the existing toilet seat, making it easier for people with mobility issues or disabilities to sit and stand up from the toilet.
What is the benefit of a raised toilet seat?
The benefit of a raised toilet seat is that it can make it easier and safer for people with mobility issues or disabilities to use the toilet.
When should you use a raised toilet seat?
A raised toilet seat can be used by anyone who finds it difficult to sit or stand up from a low toilet seat, but it’s especially beneficial for older adults, people with arthritis, and those recovering from surgery or injury.
What kind of raised toilet seat is the best?
The best kind of raised toilet seat depends on individual needs and preferences. Some factors to consider include height, material, weight capacity, and ease of installation.
How high should a raised toilet seat be?
The height of a raised toilet seat varies, but most are between 2 and 6 inches high. The ideal height will depend on the user’s individual needs and abilities.
See Also:
- Best round toilet seat
- Best raised toilet seat for knee replacement
- Best raised toilet seat for hip replacement
- Best raised toilet seat
- Best plastic toilet seat

James Toole is a renowned author and CEO of mrtoiletseat.com and informative website. With a background in engineering and a passion for bathroom equipment, James is dedicated to researching, testing, and reviewing the latest toilet seat products. His writing is engaging and accessible, making it easy for readers to understand technical aspects of products and their practical applications. James is also a talented entrepreneur, having successfully built his website into a trusted resource for people looking to upgrade their bathroom equipment. He is committed to providing high-quality information to his readers, with a focus on accuracy, transparency, and integrity.